Install Dirt bike graphics: An easy guide
Install Dirt bike graphics: An easy guide
If you can’t afford the latest box-fresh metal in the showroom, fitting new dirt bike graphics is a quick and easy way to refresh your bike and give it an instant facelift – and it’s only going to cost you for just a couple of hundred pounds rather than seven thousand … Here’s how to install dirt bike graphics: The easy way!
The faithful EXC250 was in line for a new season makeover, and while all it really needed was a top end rebuild and a new drive train, what it could really do with was a complete makeover. So with the new piston kit in place from ET James & Sons, new chain and sprockets fitted and a brand new Maxxis Trials hybrid from Classic Enduro on the rear end, it was time to hit the laptop and get shopping.
First off was a set of new plastics – we chose Acerbis as they make the OEM KTM parts, so the fit is always spot on. Online retailer Dirtbike Express in the UK came up with a complete kit including airbox and headlight cowl for £99. For the graphics we went to another UK company Danger UK as we’ve used them loads of times before and their graphics are well made and stay in place – pretty much all you need.
As we had an idea what we wanted, we sent sample images and they returned draft graphics for our approval. The theme was based on KTMs MXGP team graphics, but far enough away to avoid any copyright issues – KTM and Red Bull are very keen to protect their logos …
So with the parcels arrived and sat on the garage bench, it was time to get busy!
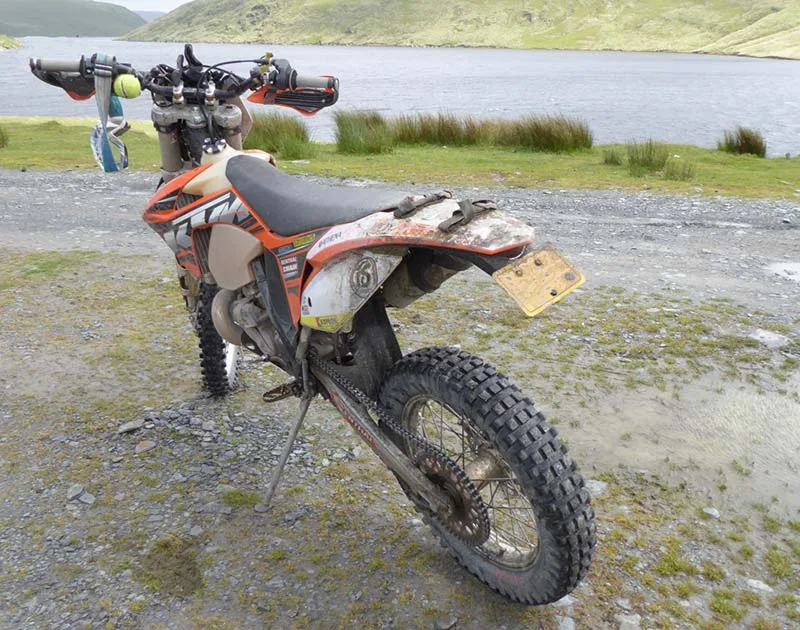
AFTER YEARS OF USE, THE BIKE IS LOOKING A TAD TIRED
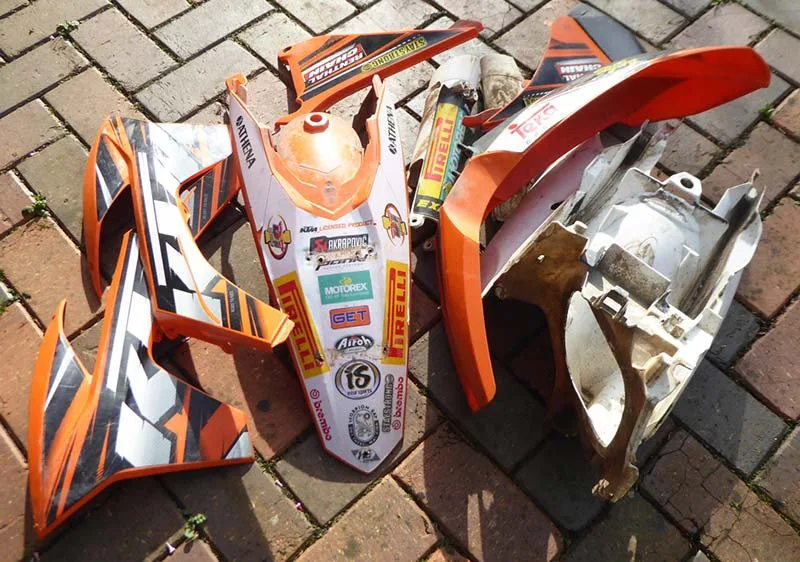
FIRST OFF, IT’S TIME TO REMOVE THE OLD PLASTICS
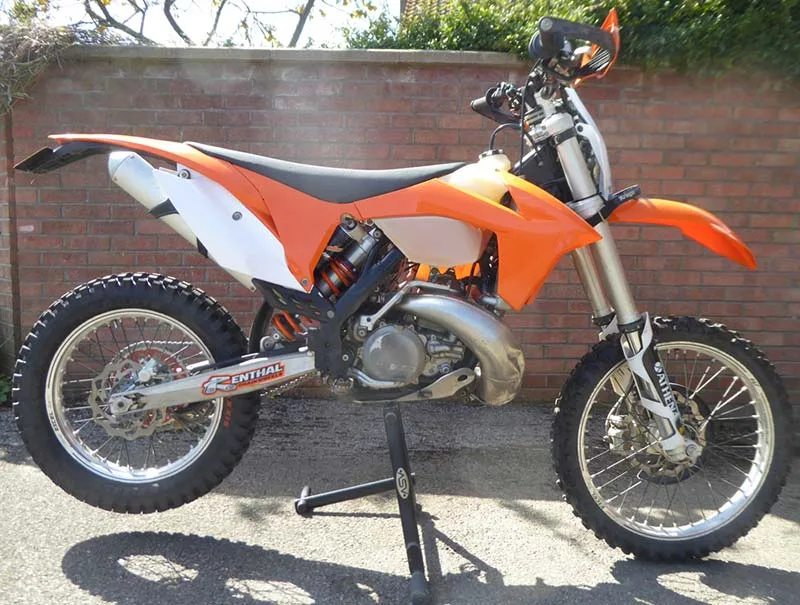
NEW PLASTICS LOOK AWFUL IF LEFT PLAIN
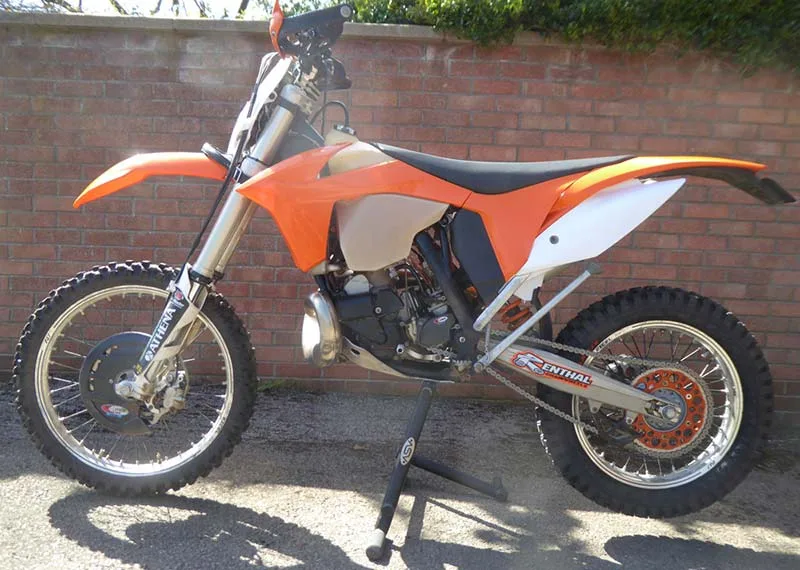
LEAVING THEN UNCOVERED WILL AGE THE PLASTIC QUICKLY
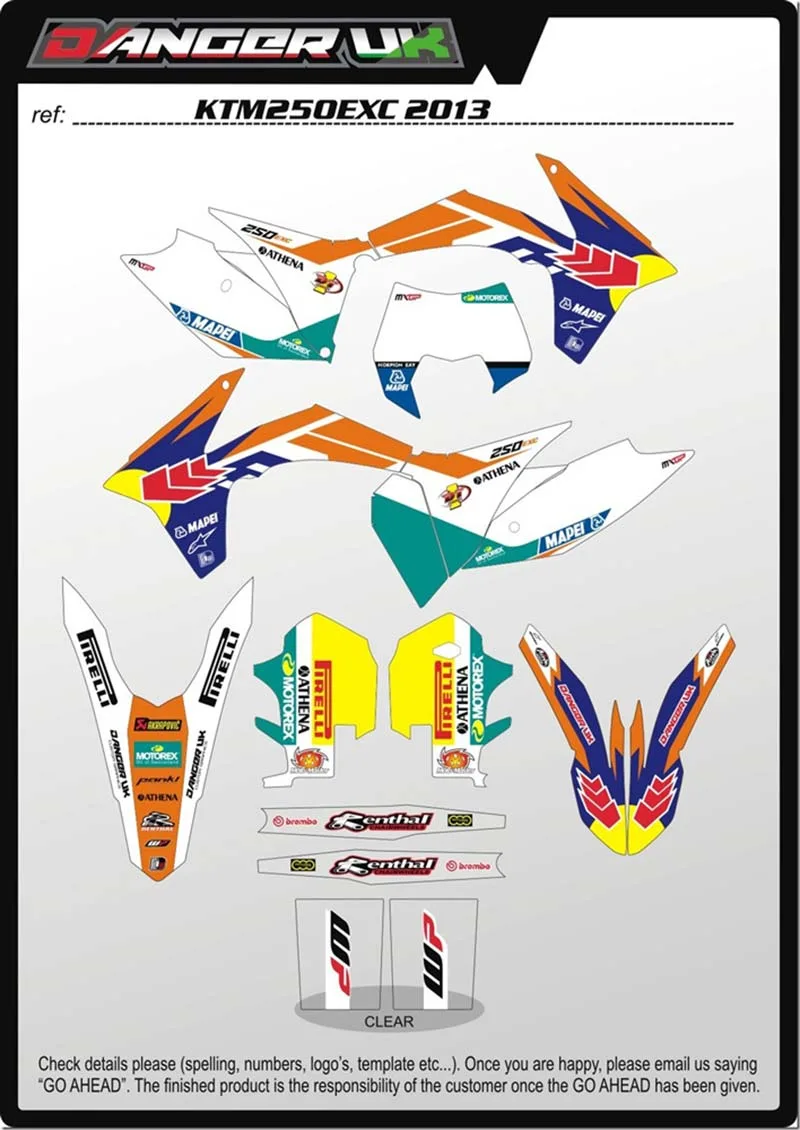
THE GRAPHICS COMPANY SEND OVER A PROOF TO CHECK
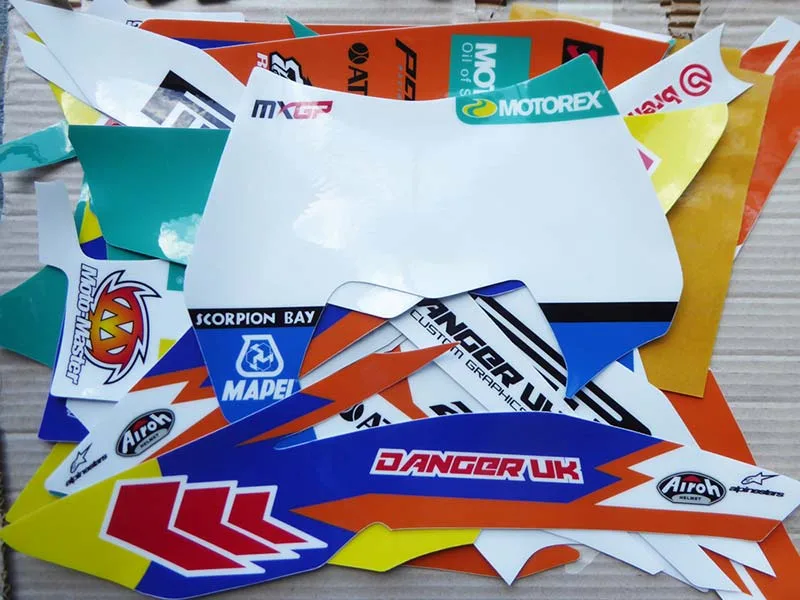
A FEW DAYS LATER THE POSTMAN CALLS – CHECK EVERY PART IS PRESENT
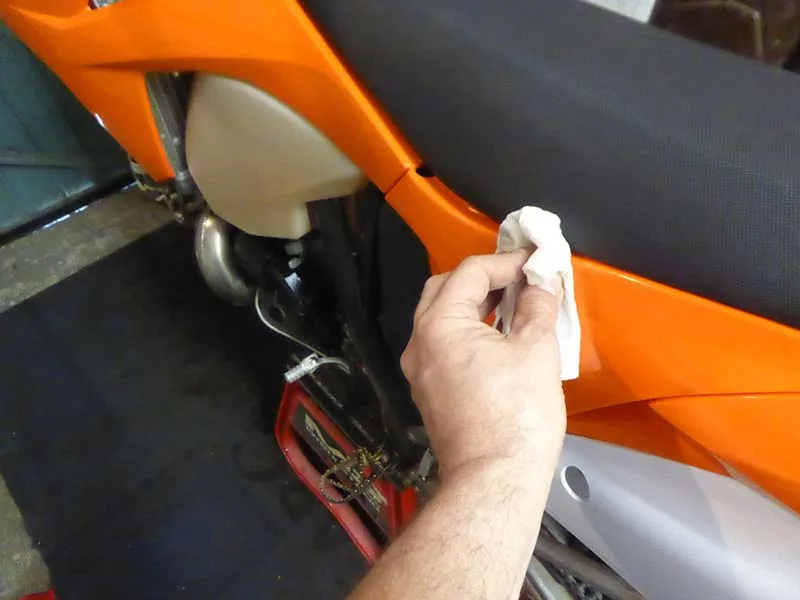
EVEN NEW PLASTICS NEED TO BE CLEANED OFF, SO USE ACETONE AND A SOFT CLOTH
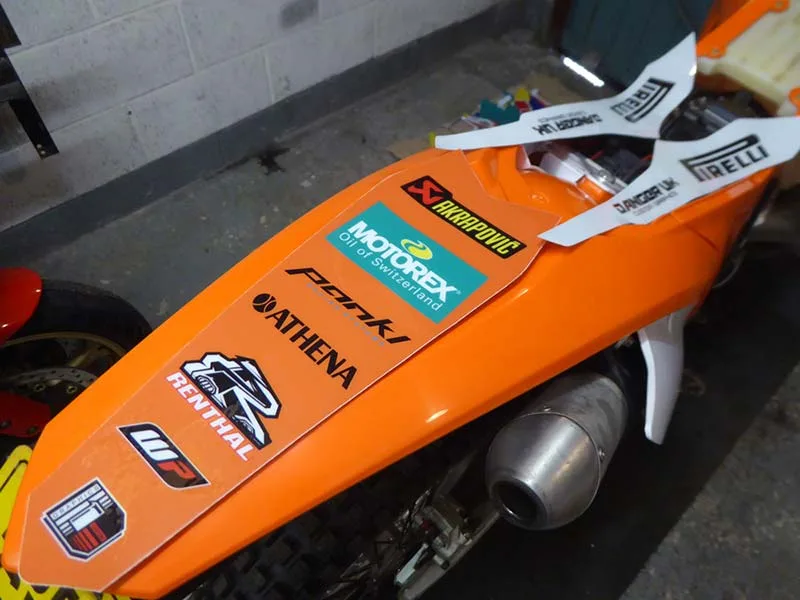
START ON A CENTRAL PANEL – WE START AT THE REAR AND LAYOUT GRAPHICS TO CHECK REQUIRED ALIGNMENT
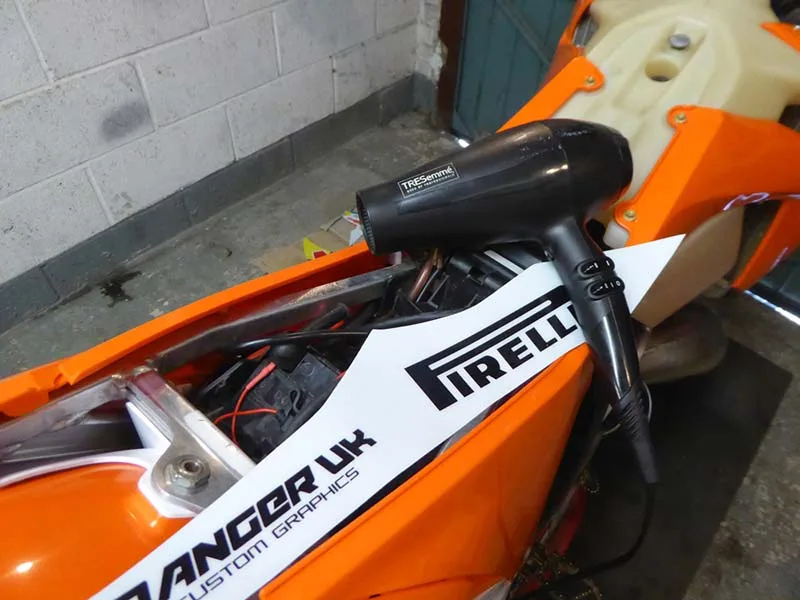
YOU DON’T NEED HEAT EXCEPT FOR THE MORE TRICKY BITS AND A FINAL SEAL OF THE GLUE – WE USE A HAIRDRYER AS IT’S GENTLER THAN A HOT AIR GUN
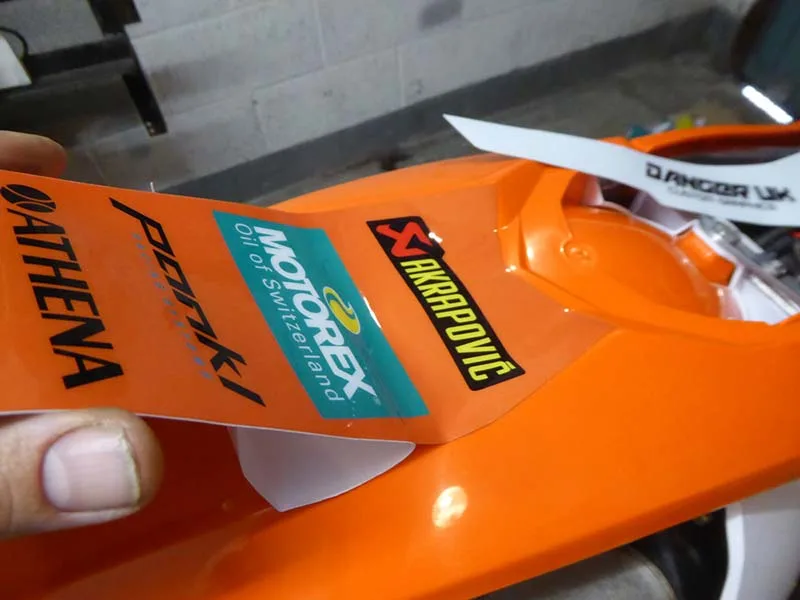
START AT ONE END AND GRADUALLY PEEL WAY THE BACKING PAPER AS YOU SMOOTH DOWN THE STICKER WITH A SOFT CLOTH
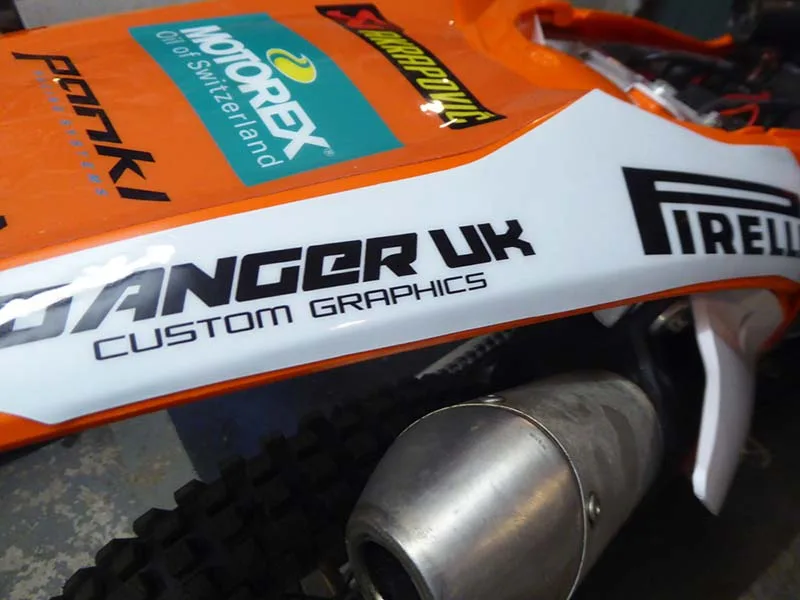
IF THE CENTRAL PANEL IS CORRECTLY PLACED, THE SIDE PARTS WILL SLOT INTO PLACE TOO
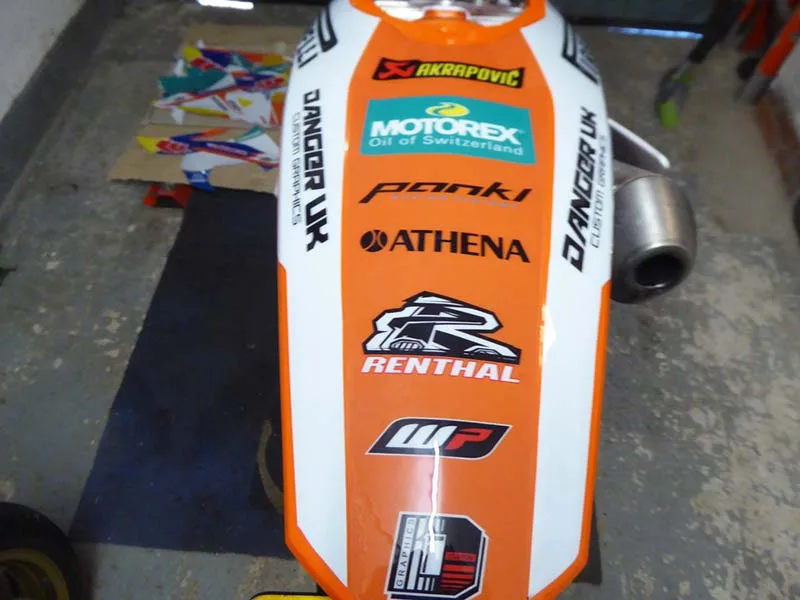
COMPLETE SYMMETRY AND NO BUBBLES IS YOUR AIM, SO BE VERY PATIENT AND BE PREPARED TO REPOSITION PANELS IF REQUIRED
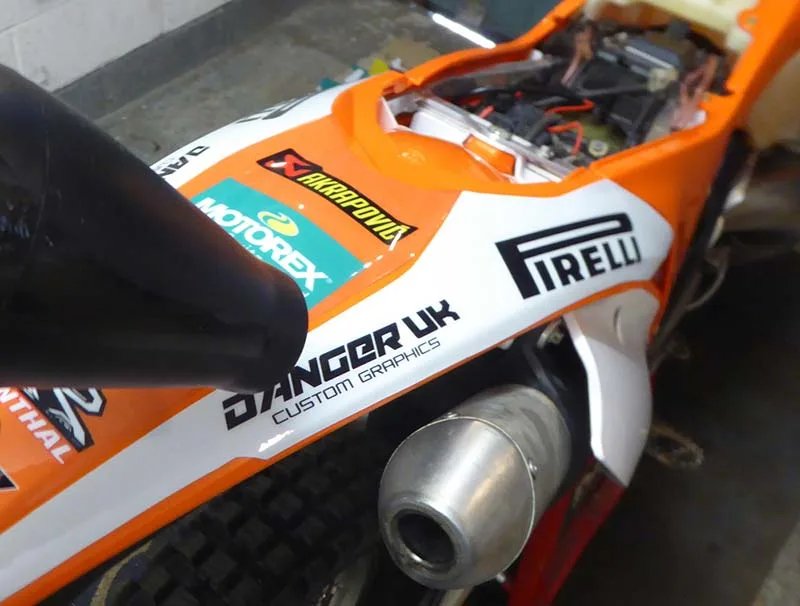
USE THE HAIRDRYER TO SEAL THE PANELS INTO PLACE
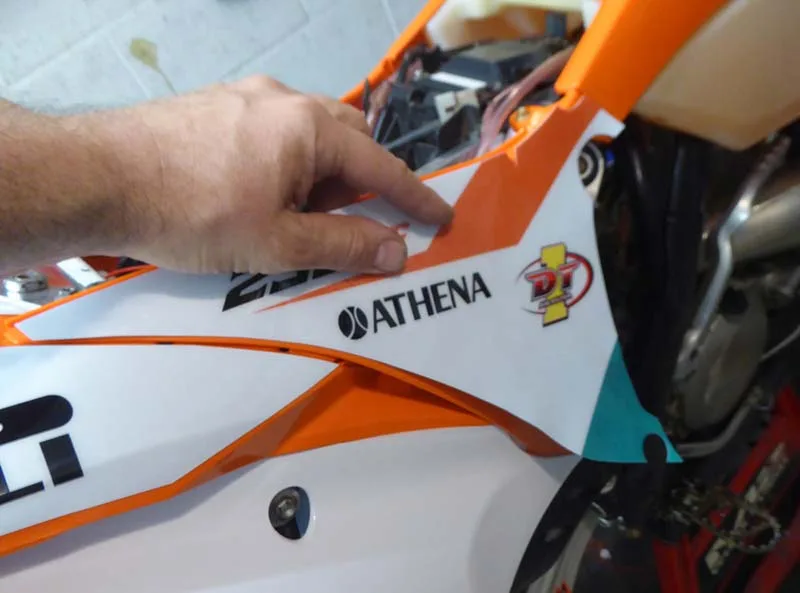
WITH THE FENDER DONE, MOVE TO THE AIR BOX GRAPHICS, CHECKING REQUIRED POSITIONS AT BOTH ENDS BEFORE REMOVING BACKING
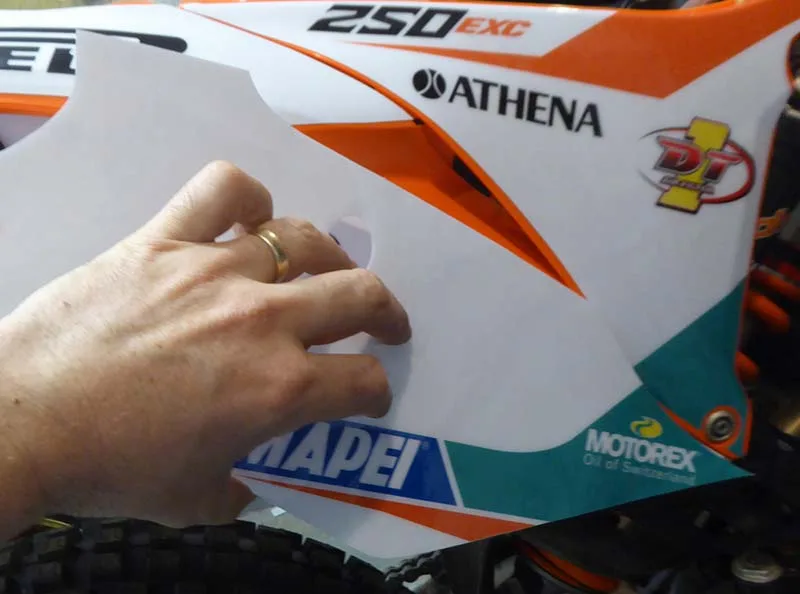
THE NUMBER BOARDS ARE TRICKY AS THERE ARE MULTIPLE CURVES TO WORK ROUND. WORK SLOWLY AND KEEP YOUR HANDS CLEAN
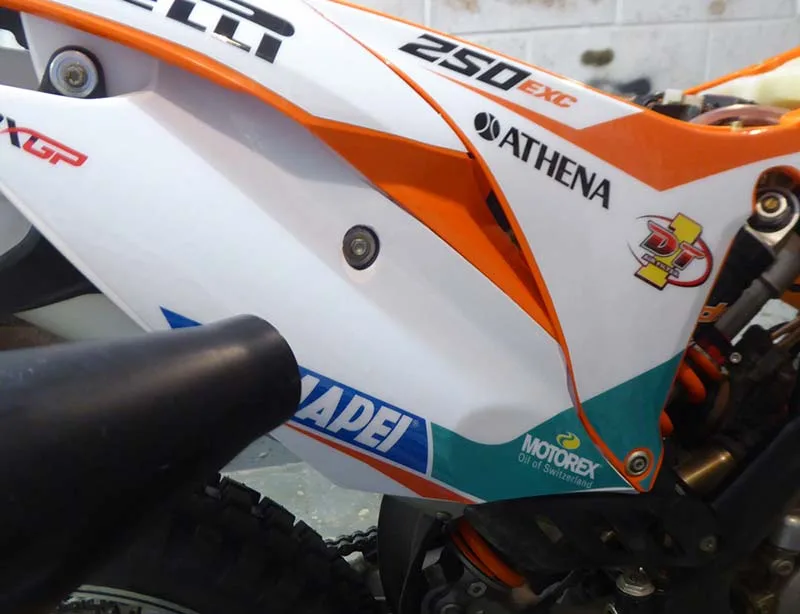
WHEN THE TWO SIDE SECTIONS ARE DONE, PASS OVER WITH THE HAIRDRYER TO SEAL INTO PLACE
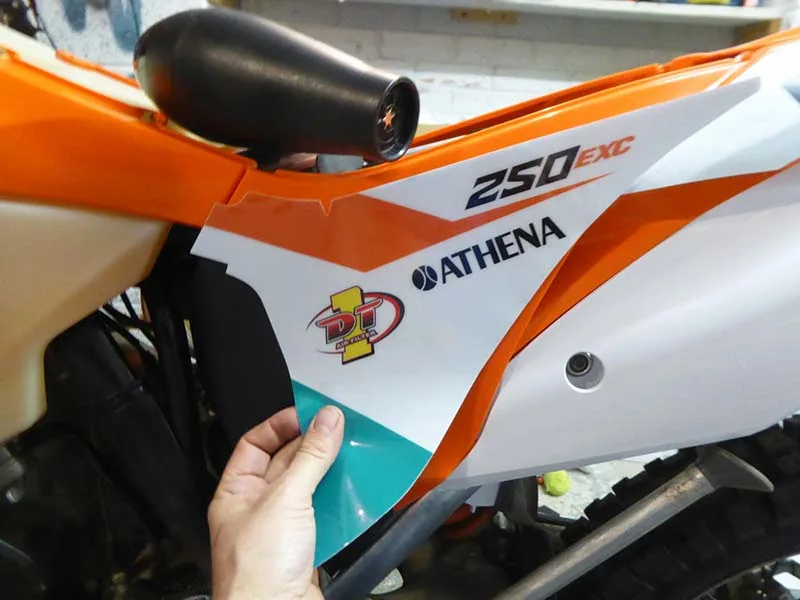
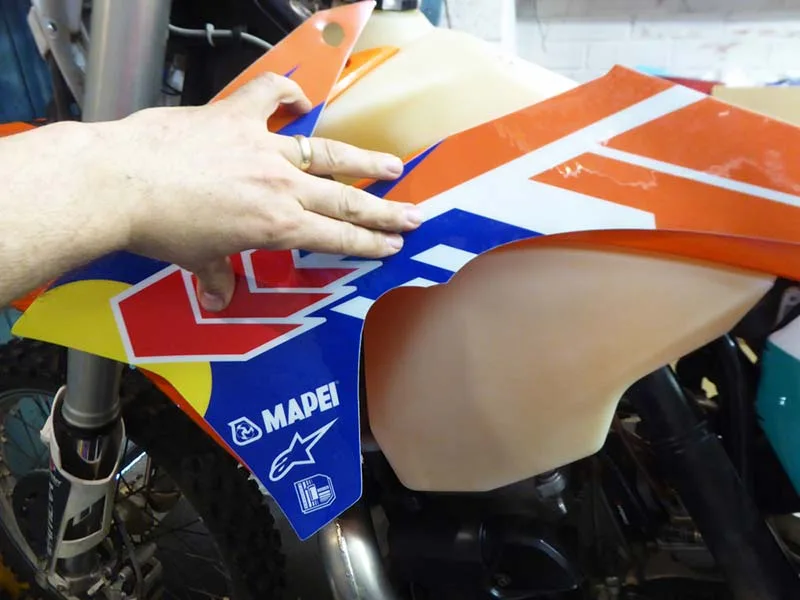
NOW MOVE TO POSITION THE RADIATOR COWLS DECALS. IF YOU THOUGHT THE NUMBER BOARDS WERE TRICKY THEN THESE WILL REALLY TEST YOU
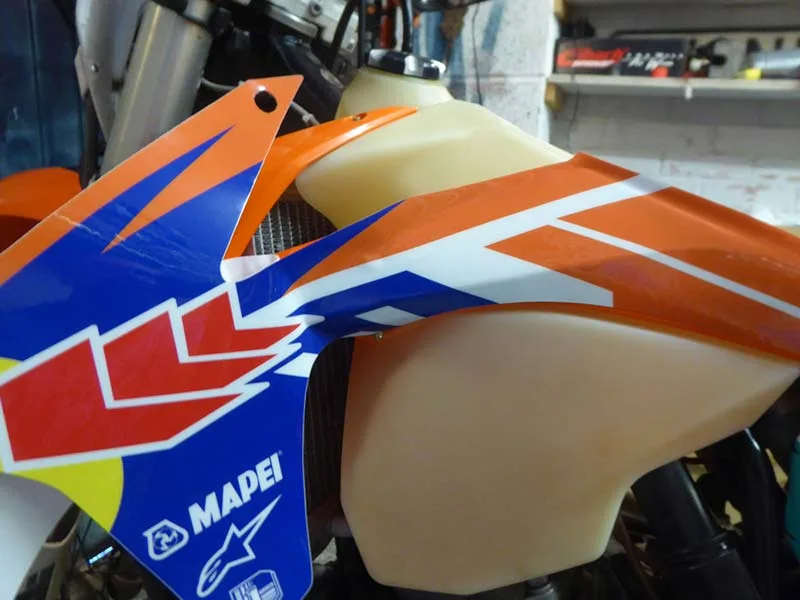
BECAUSE THEY ARE LARGE PANELS, POSITION THE BACK END AND WORK YOUR WAY FORWARD, GENTLY SMOOTHING INTO PLACE. DON’T PRESS DOWN HARD UNTIL YOU ARE HAPPY WITH THE FIT
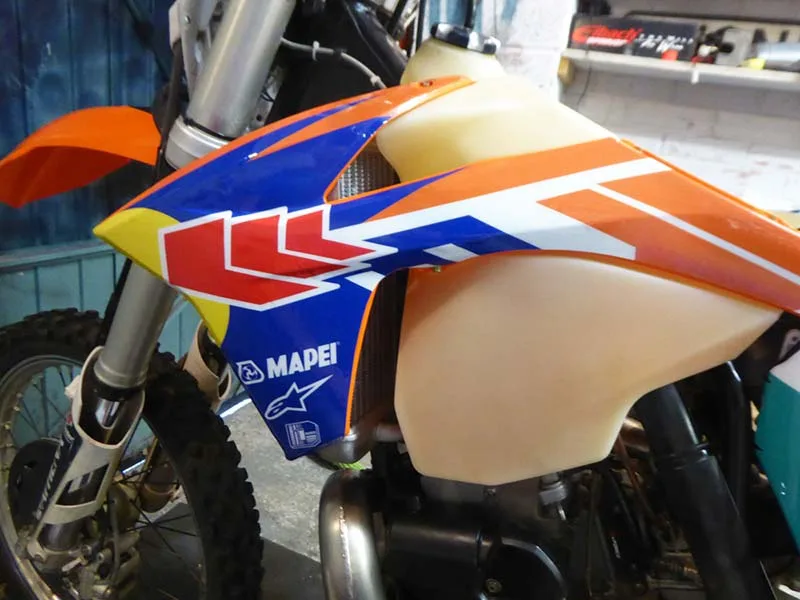
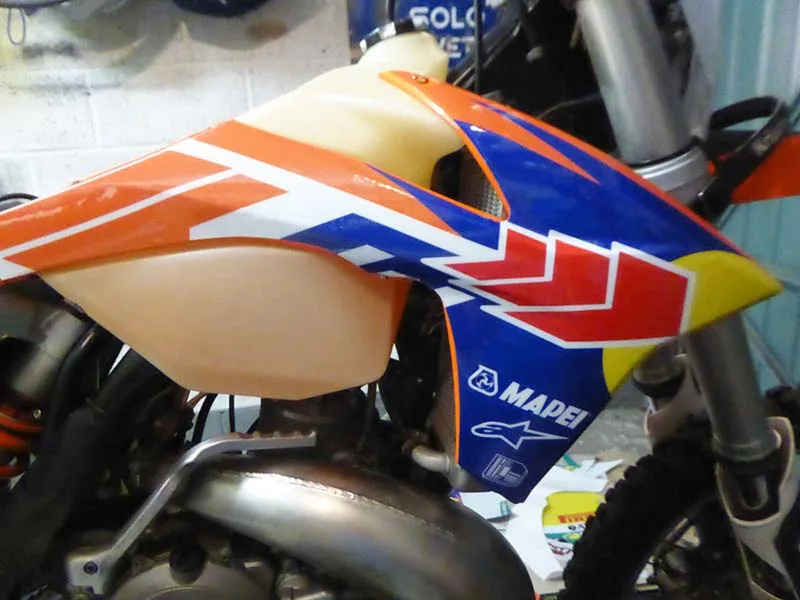
HAVING GOT THE HANG OF THINGS FROM THE LEFT SIDE, MOVE TO THE RIGHT SIDE AND REPEAT THE PROCESS TO COMPLETE THE POSITIONING OF THE RIGHT DECALS. SEAL GLUE WITH A GENTLE PASS OVER FROM THE HAIRDRYER
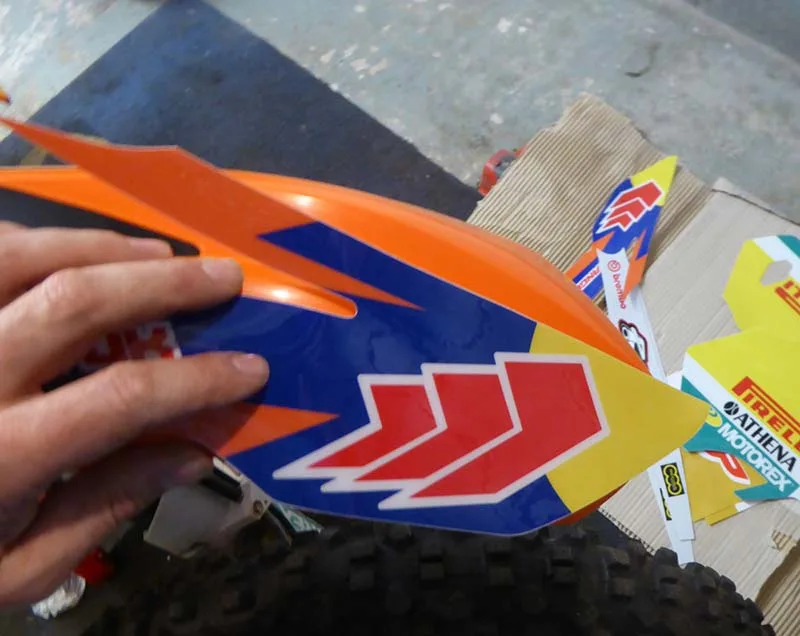
AFTER DOING THE HEADLIGHT SURROUND, THE FRONT MUDGUARD IS NEXT BUT THE POSITIONING IS KEY SO BE PATIENT AND GET IT RIGHT – IT’S THE BIT YOU SEE!
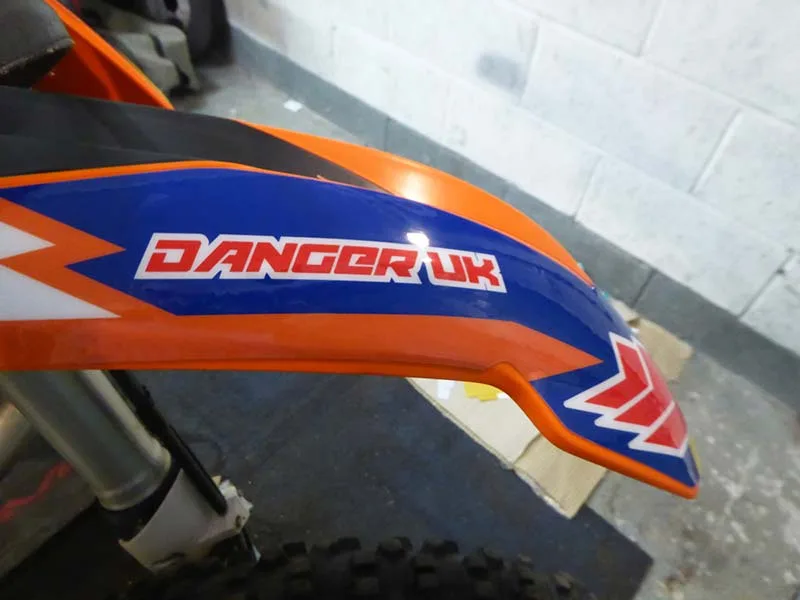
WITH THE FRONT FENDER GRAPHICS DONE, THE LOWER FORK GUARDS ARE BEST DONE OFF THE BIKE WITHOUT CABLES AND SPOKES IN THE WAY
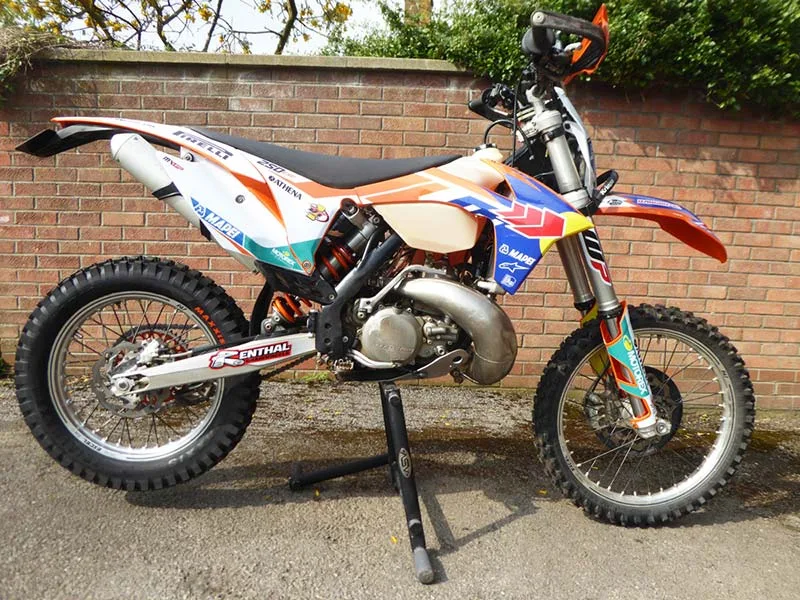
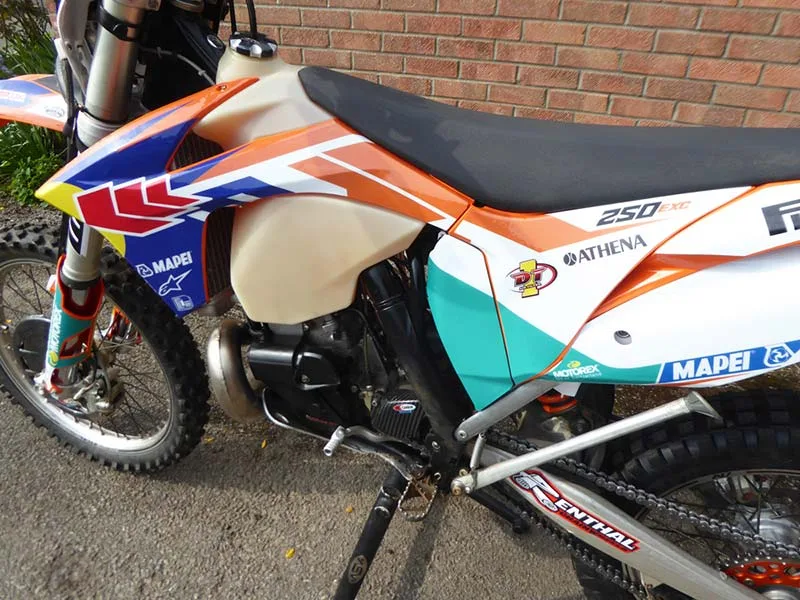
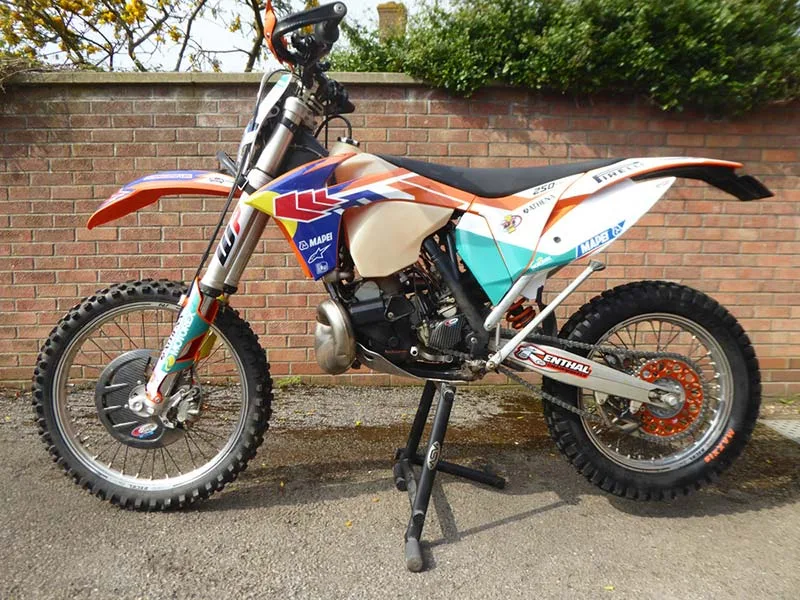
WITH ALL PANELS IN PLACE THE BIKE LOOKS TOTALLY REFRESHED AND INDIVIDUAL
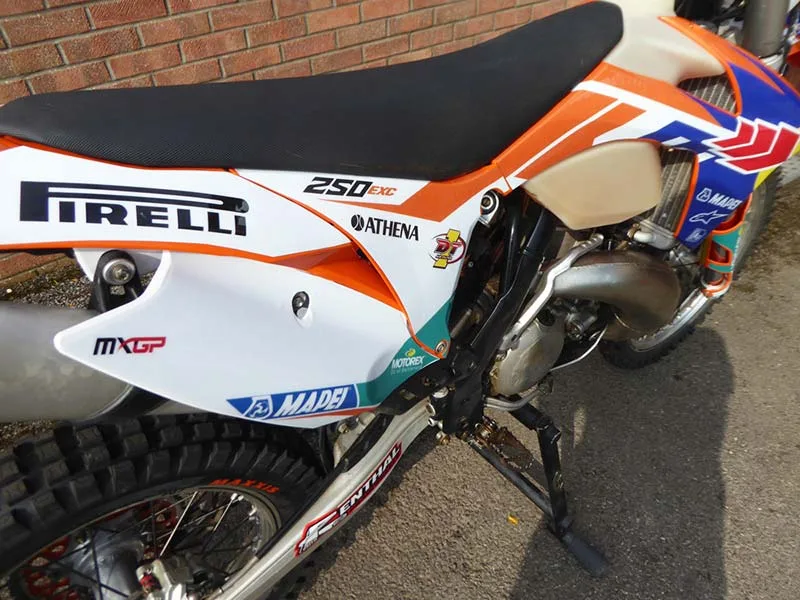
WE DIDN’T USE THE SWINGARM GRAPHIC AS WE HAD A SEPARATE RENTHAL GRAPHIC THAT CAME WITH THE TWIN RING SPROCKET
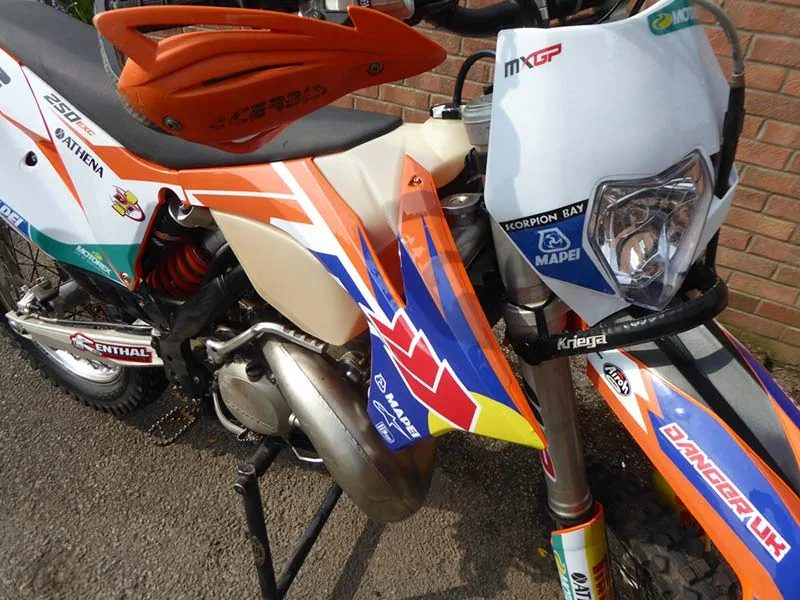
NUMBER BOARDS ARE LEFT BLANK FOR TRAIL RIDING – WE DON’T WANT TO LOOK LIKE WE ARE RACING!
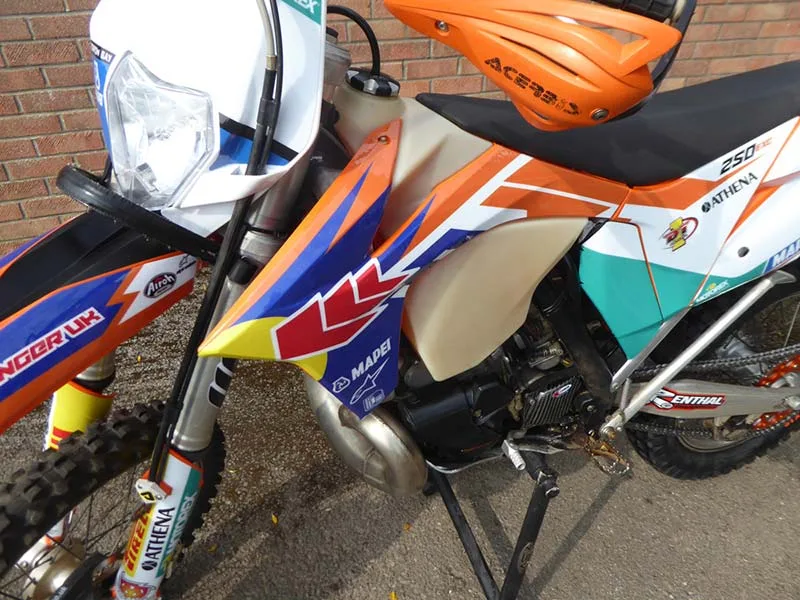
THE GRAPHICS LOOK GOOD AND WILL PROTECT THE PLASTICS FROM ABUSE ON THE TRAILS
SHARE THIS POST WITH YOUR FRIENDS...